A Guest Post by Viennese Concert Photographer Matthias Hombauer
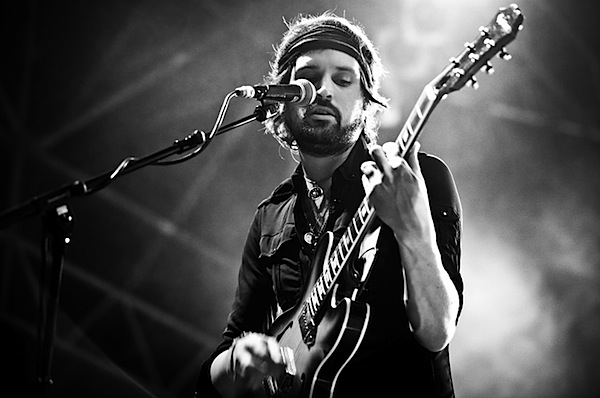
Being a concert photographer can be very exciting. Imagine yourself standing 6 feet away in front of your beloved idol and taking portraits of them. Not only do you have the ability to shoot one image but can take hundreds of pictures that you can carry home. As a passionate music lover this seems to be heaven and indeed this is a close description how it can feel.
- But how do you start to become a concert photographer?
- What equipment do you need?
- How do you get the shot?
In this short tutorial I will write about my experience of being a concert photographer – I hope it will improve your skills in this exciting field of photography.
1. Getting started! Prepare yourself to become a concert photographer
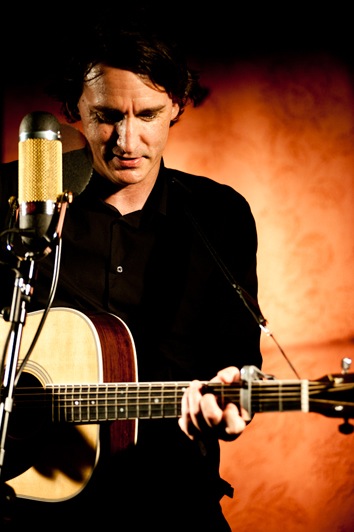
What is the best way to start? The easiest way to build your career is to begin in small clubs. In these venues it’s more likely that you can enter with your camera equipment without any special press accreditation. Therefore this is the perfect playground for you to change your camera settings and getting used to be in front of a stage. Why not ask some friends who play in a band and offer them your skills next time? For sure they would be more than happy to have pictures of their next concert.
But all beginnings are difficult and so is concert photography.
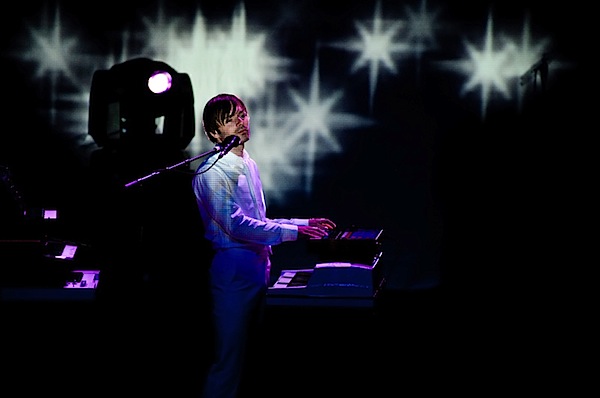
The problem in these small venues is in the lack of stage light! Most of the concerts I was starting with had only a blue and a red spotlight on stage. Beside the fact that the musicians look like creatures from another galaxy the light is so low that you hardly get sharp pictures when not using proper equipment.
What is the solution for this dilemma?
2. Buy a fast cheap prime lens, now!
Talking about lenses for concert photography always ends up with the same conclusion: use fast lenses! Most of the time the stage light is very low so your only chance to get sharp images is to use a fast lens.
As a beginner I would recommend the cheap 50mm 1.8, because of its ability to shoot in low light at its lowest aperture setting. This lens saved me a couple of times when the light technician seemed to sleep and the stage was almost pitch black. For small stages a 50mm lens is a good compromise to get a head shot of the lead singer and a full length shot of the drummer (depending how big the stage actually is).
How to get rid of the red creature from another galaxy-look? Convert your pictures into black and white and the musicians will look way more natural again.
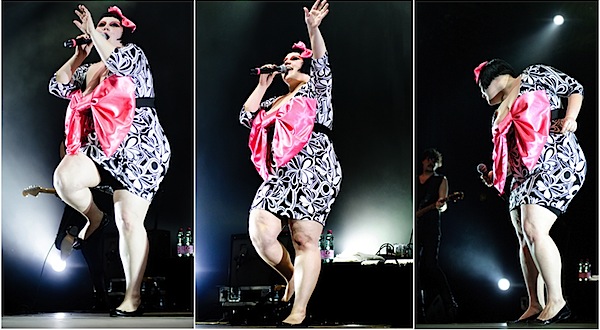
3. What was this noise all about?
One important setting on your camera is the ISO value. A good setting for your camera’s ISO value is crucial for concert photography. Most of the time you’ll find yourself dialing your ISO setting up to 1600 or higher to get a decent shutter speed.
You may be thinking: “What?! I am using a lens with an aperture of 1.8 and an ISO setting of 1600 and I still not get the shot I want?”
Unfortunately the answer is: Yes, at least most of the time.
Using such high ISO settings at a digital SLRs with a crop sensor will generate a lot of noise. Therefore I recommend to use noise reduction software in your post processing workflow. Or, even better (but more expensive): Buy a full frame camera.
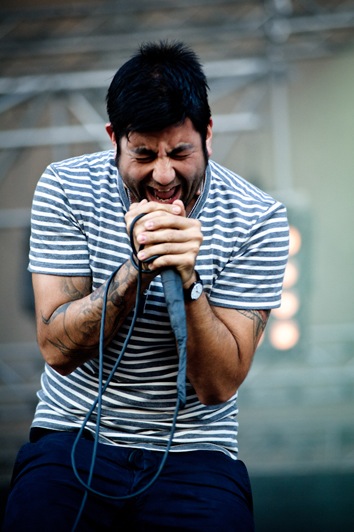
4. Which Mode and Settings Should I shoot with?
In my opinion this is an individual preference and you should try what fits to your style. I always shoot in Aperture priority mode and at my lowest aperture setting (e.g 1.8; 2.8, depending on the lens you are using).
Some people also use manual mode, but I feel rather comfortable that my camera sets the right exposure and I don’t have to think about it.
I always use spot metering, because the stage lights are changing rapidly and you’ll never know if the lights will hit the artists face in the next second or not.
Use multi shot mode. Do not only shoot 1 picture but 3 or 4 to have a higher yield of pictures that you can use.
Finally: Always shoot in RAW format. Sure, you’ll need more storage space, but it is absolutely worth it to have the ability to change all the parameter like white balance and exposure afterwards in post processing.
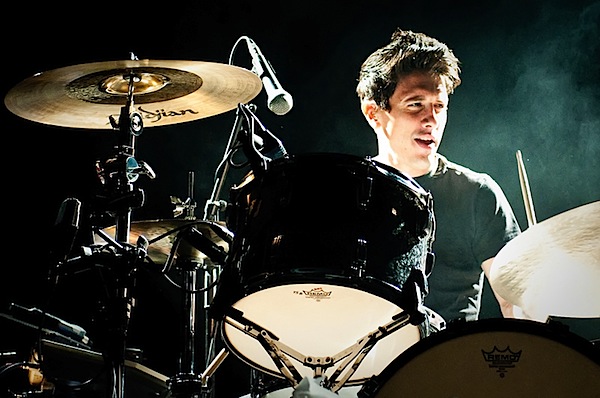
5. What about Shooting in Big venues?
Welcome to the world of rock stardom! Are you ready to get close to your idols? Thousands of screaming people, squeezed in between the trench and the people behind, create a sheer unsurmountable barrier whereas you enter easily from the side of the stage, sipping coke and walk to the stage in front of the security guards.
You realize all the fancy equipment on the stage that you just used to know from videowalls – and then, suddenly the lights go dark. The band enters the stage, some people scream, others faint but you are just anxious and think: “am i dreaming or is this real” Then it hits you again, damn, it’s real and I am better back to reality again and take some great pics!
This is how it feels like standing in front of a big stage (at least this is the case for me).
You’ll think now: “Great, sounds good, I would like to do this, but how? Tell me, tell me, tell me!!!” The answer: You need a press accreditation. “Oh my gosh, what’s this?”
Don’t be afraid, it’s easier than you think. I started to work for a small internet magazine for students. These small magazines and online platforms will give you the opportunity to get to bigger concerts. Maybe you won’t get tickets for Woodstock 2011, but it should be possible for smaller festivals.
Try to get in touch with people, ask other photographers, talk to other students, maybe one of them is running a magazine. Try your luck at a local newspaper.
I am sure, if you really want to become a concert photographer, there are many ways to achieve your goal.
Once you got your press accreditation, the fun begins. You have to go to the press/VIP ticket counter to get your press ticket.
Most likely, depending on the artist, you are allowed to take pictures of the first 3 songs without flash. Not more. These are the rules and everybody has to stick to it. Leonard Cohen allowed just 1 song. Fortunately it was a long one, 6min time, 300 pictures! Exhausted and happy to get a good one for the newspaper!
Face the truth: you’ll delete most of your pictures and end up with just a few really good ones. As Chase Jarvis is saying just take more pictures to get THE shot you are waiting for.
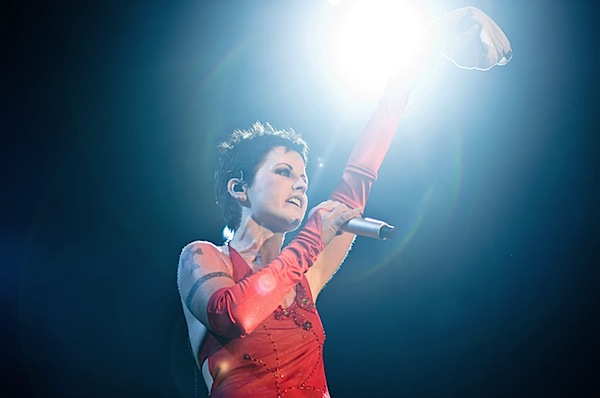
6. I am standing in front of the stage with my 50mm lens. Why do the others have all this big ones (do they try to compensate for anything)?
Ok, this is the deal. Bigger Venues need bigger lenses and mostly high ISO too!
If you are looking around professional concert photographers they most likely have a full format sensor camera (yep, because of the high ISO capability) and a 24-70 2.8 or 70-200 2.8 or both – or even an ultrawide angle/fisheye lens.
Sure, you can also try your luck with your 50mm but on big stages you definitely need a telephoto lens. The zoom ability is also crucial in my opinion, because you can not move forward, so you have to compose from your point of view.
Sometimes the artist will permanently move so it’s easier to follow him/her with your lens. For instance, Jamiroquai was jumping around for 10 minutes. The other advantage of this back-breaking lenses is that other photographers will take you more seriously and get afraid that you might take better pictures than them.
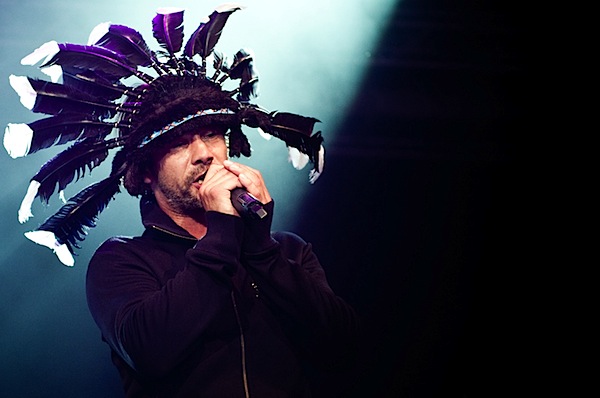
I hope I could convince you that being a concert photographer is much fun even though you have to spend a lot of time and money for it. But believe me, if you see your pics after the concert of your favourite band on your LCD display on the back of your camera, the efforts it took are forgotten in a second.
Summary:
- start in small venues
- use a lens with a small aperture (e.g. 50mm 1.8)
- use high ISO settings
- try to get in contact with magazines and internet platforms to get your press accreditation
- save your money for a full frame camera and fast zoom lenses: 24-70mm 2.8, 70-200mm 2.8, ultrawide/fisheye lens
- Enjoy your new life as a concert photographer
Check out more of Matthias Hmobauer’s photography at his blog.
Post from: Digital Photography School - Photography Tips.
6 Tips for Budding Live Concert Photographers
© Kent Palmer


